Files & Folders
README.md
Exploit.or.id Client
Client CLI to access Exploit.or.id API. This application allows users to manage repositories, releases, and files via command line with advanced features such as auto-delete duplicate files, recursive folder upload, and complete release management.
Key Features
- Secure Authentication: Login with a securely stored token
- Repository Management: Create, delete, and manage repositories
- Smart Upload: Upload files/folders with automatic duplicate detection and auto-replace
- Recursive Folder Upload: Upload folders with complex subfolder structures
- Clone Repository: Download and extract repository archives to a local directory with full URL support
- Release Management: Create and delete releases with or without file attachments
- Path Management: Upload to specific subfolders with the
--pathparameter - Auto-Delete & Re-upload: Automatically delete duplicate files and re-upload
- Debug Mode: Debug output for troubleshooting
Installation
There is an automatic installer that will install all required dependencies and compile the client.
How to Install
# Run the installer
./install.sh
The installer will:
- Detect your operating system (Linux or macOS)
- Check and install the required dependencies (gcc, make, curl, json-c)
- Compile the client
- Install the client to
/usr/local/bin(or~/binif you don\'t have access to/usr/local/bin) - Create a configuration directory in
~/.exp
Manual Installation
If you want to install manually, follow these steps:
# Install dependencies (Ubuntu/Debian)
sudo apt-get install gcc make libcurl4-openssl-dev libjson-c-dev

# Install dependencies (macOS with Homebrew)
brew install gcc make curl json-c

# Compile
make clean && make

# Install
sudo make install
Configuration
After installation, the client will create a configuration directory in ~/.exp containing:
~/.exp/token- Authentication token after login~/.exp/config- General configuration such as username~/.exp/repo_config- Active repository configuration
All configuration files are created automatically when using the client.
Complete Usage
Here is a complete guide to using the CLI client:
Help
# Display general help
exp --help
# or
exp -h

# Display help for a specific command
exp <command> -h
# Example: exp upload -h
Authentication
# Login to the API
exp login
# Enter username and password when prompted
Repository Management
# Create a new repository
exp init <repository_name> [description] [private]
# Example: exp init my-repo "My first repository" private
# Change the active repository
exp change-repo <username> <repository_name>
# Example: exp change-repo admin my-project
# Change the active repository for upload and release operations
# Deleting a repository
exp delete
# The active repository will be deleted after confirmation
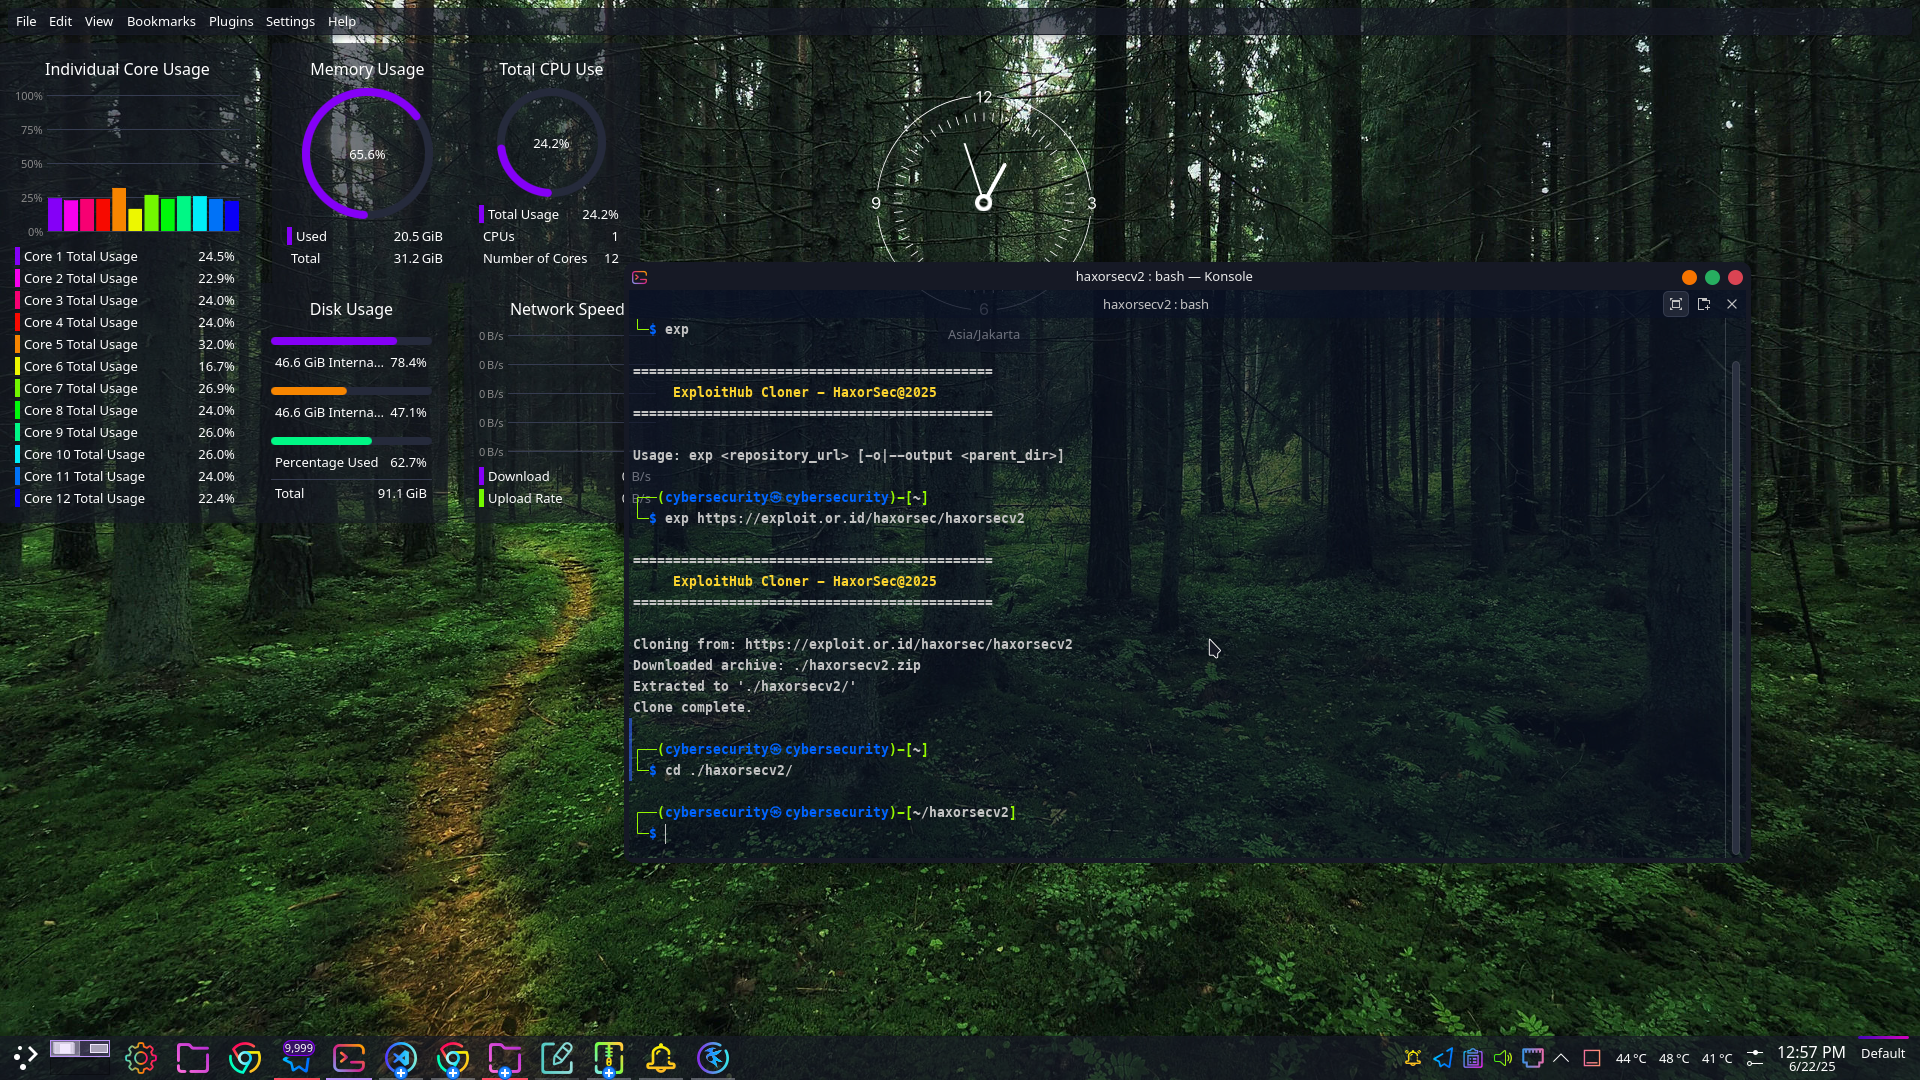
# Clone repository
exp clone <username/repository> [output_directory]
# Example: exp clone haxorsec/haxorsecv2
# Clone repository with full URL
exp clone https://exploit.or.id/username/repository [output_directory]
# Example: exp clone https://exploit.or.id/haxorsec/haxorsecv2Upload Files and Folders
Single File Upload
# Upload a single file to the repository root
exp upload file.txt

# Upload a file to a specific subfolder
exp upload file.txt --path subfolder/path
# The file will be uploaded to the path subfolder/path/file.txt

# Upload a file by replacing the existing file
exp upload file.txt --replace
# Old files with the same name will be deleted first
Upload Multiple Files
# Upload multiple files at once
exp upload file1.txt file2.txt file3.js

# Upload multiple files to a specific subfolder
exp upload file1.txt file2.txt --path subfolder/path

# Upload multiple files by replacing the existing file
exp upload file1.txt file2.txt --replace
Upload Folder (Recursive)
# Upload a folder (all files in a folder including subfolders)
exp upload my-folder
# All files in my-folder will be uploaded to the repository with the same folder structure

# Upload a folder to a specific path
exp upload my-folder --path target/path
# All files in my-folder will be uploaded to target/path/ with subfolder structure

# Upload a folder by replacing the existing folder
exp upload my-folder --path target/path --replace
# Old files in target/path/ will be deleted first
Auto-Delete & Re-upload Feature
# If the file already exists, the client will automatically:
# 1. Detect duplicate entry error
# 2. Delete existing file
# 3. Re-upload new file
# No additional parameters needed, this feature runs automatically
exp upload existing-file.txt
Upload with Complex Folder Structure
# Example folder structure:
# project/
# ├── src/
# │ ├── main.js
# │ └── utils/
# │ └── helper.js
# └── docs/
# └── readme.md

exp upload project/
# Will upload all files with path:
# - src/main.js
# - src/utils/helper.js
# - docs/readme.md
Release Management
Creating a Release
# Creating a release without files
exp release v1-0-0 "Initial Release" "First stable release"

# Creating a release with attachment files
exp release v1-0-0 "Initial Release" "First stable release" ./dist/app.zip
# The app.zip file will be attached to the release

# Create a release with an empty description
exp release v1-0-0 "Quick Fix"

# Example of a large release
exp release v2-1-0 "Major Update" "Added new features and bug fixes" ./release-package.tar.gz
Deleting a Release
# Deleting a release based on tags
exp delete-release v1-0-0

# Example of deleting an old release
exp delete-release v0-9-0-beta
Tag Name Format
- MUST use a hyphen (-) instead of a dot (.)
- Correct examples:
v1-0-0,v2-1-3,beta-1-0 - Incorrect examples:
v1.0.0,v2.1.3
Deleting Files and Folders
Deleting Files/Folders from Repository
# Deleting a specific file
exp delete path/to/file.txt

# Deleting a folder and all its contents
exp delete path/to/folder/
# All files in the folder will be deleted

# Deleting files in the root of the repository
exp delete main.js

# Deleting subfolders with complex structures
exp delete src/components/
Clone Repository
Download and extract the repository archive to a local directory.
# Clone repository to current directory (username/repository format)
exp clone username/repository

# Clone repository to current directory (full URL format)
exp clone https://exploit.or.id/username/repository

# Clone repository to specific directory
exp clone username/repository output_directory

# Clone repository to specific directory (full URL format)
exp clone https://exploit.or.id/username/repository output_directory

# Example: Clone repository to current directory
exp clone admin/my-project

# Example: Clone repository to specific directory
exp clone admin/my-project ./my-project-clone
Deleting Repository
# Deleting entire repository (requires confirmation)
exp delete
# System will ask for confirmation by typing 'yes'
General Workflow
Here is the general workflow for using the client:
-
Login to the API:
exp login -
Create a new repository:
exp init my-project "My awesome project" -
Upload a file or folder:
exp upload src/ --path source -
Create a release for a specific version:
exp release v1-0-0 "Version 1.0.0" "Initial stable release" ./dist/app.zip
Advanced Features
Auto-Delete & Re-upload
Client automatically detects if the uploaded file already exists (duplicate entry error) and will:
- Delete the existing file
- Re-upload the new file
- Provide process feedback to the user
Recursive Folder Upload
Client can upload folders with complex structures:
- Supports subfolders up to unlimited depth
- Preserves the original folder structure
- Handles files with the same name in different folders
Path Management
Smart path system:
- Automatically detects if a file is in a subfolder
- Sends
pathparameters only when needed - Prevents path duplication on the server
Debug Mode
Client provides debug output for troubleshooting:
- Shows parameters sent to the API
- Shows server responses
- Helps identify upload problems
Important Notes
- Tag name format: MUST use a hyphen (-), not a dot (.)
- Correct:
v1-0-0,v2-1-3 - Wrong:
v1.0.0,v2.1.3 - Configuration directory:
.expis automatically created in the home directory (~/.exp) - Prerequisite: Must run
exp initbefore usinguploadandrelease - Auto-replace: Automatic feature, no need for
--replaceparameter for duplicate files - Repository configuration: Stored in
~/.exp/repo_config, not in the local directory - Token management: Tokens are stored securely with permission 0600
- SSL: SSL verification is disabled for testing environments
Troubleshooting
Repository not initialized
If you see the message "Repository not initialized. Use 'exp init' first", make sure:
- You have already run
exp initto create the repository - You are in the same directory as when you ran
exp init
Failed to upload files
If the upload fails with the message "Failed to upload files", check:
- Your internet connection
- Your authentication token is still valid (try logging in again)
- The files you want to upload exist and are accessible
- The repository still exists and has not been deleted
Permission denied
If you see the message "Permission denied", make sure:
- You have access to the repository
- You are logged in with the correct account
- The
--replaceparameter will delete existing files or folders before uploading new files - When uploading a folder with the
--replaceparameter, all files in that folder will be deleted first
- The
HTTP Methods & Headers
- Authentication:
Authorization: Bearer {token}(all endpoints except login) - Content-Type:
application/jsonfor JSON datamultipart/form-datafor file uploads- SSL: Verification disabled for testing
- Redirects: Automatically follow redirects up to 10 times
Dependencies
Build Dependencies
- gcc - GNU Compiler Collection
- make - Build automation tool
Runtime Dependencies
- libcurl4-openssl-dev - HTTP client library with SSL support
- libjson-c-dev - JSON parsing library
System Libraries
- libgen.h - Basename/dirname functions
- sys/stat.h - Status functions file
- dirent.h - Directory traversal
- unistd.h - POSIX operating system API
Clone Repository
# Clone repository with username/repository format
exp clone username/repository [output_directory]
# Example: exp clone haxorsec/haxorsecv2

# Clone repository with full URL
exp clone https://exploit.or.id/username/repository [output_directory]
# Example: exp clone https://exploit.or.id/haxorsec/haxorsecv2
Platform Support
- Linux (Ubuntu/Debian tested)
- macOS (with Homebrew)
- Windows/WSL (experimental)
Troubleshooting
Common Problems
Configuration
-
Error "Could not create config directory"
# Solution: Create directory manually mkdir -p ~/.exp chmod 700 ~/.exp -
Error "Invalid token"
# Solution: Re-login
exp login
Upload Issues
-
Error "Repository not initialized"
# Solution: Initialize repository exp init my-repo "Repository description" -
Error "Failed to upload files"
- Check internet connection
- Make sure file exists and readable
- Check token is still valid
- Check file permissions
-
Duplicate Entry Error
- Client will automatically handle with auto-delete & re-upload
- No need for manual action
Path Issues
-
Path duplication on server
- Fixed in latest version
- Client sends directory path separately from filename
-
Upload folder is not recursive
- Make sure to use latest version
- Client supports subfolders up to unlimited depth
Compatibility
- Symbolic Link for Compatibility
# If there is an old script that uses .exploit
ln -s ~/.exp ~/.exploit
Debug Mode
For more detailed troubleshooting, look at the debug output displayed by the client:
exp upload file.txt
# The output will display:
# - Parameters sent to the API
# - Response from the server
# - HTTP status
# - Error details if any
Development
Build from Source
# Clone repository
git clone <repository-url>
cd client

# Compile
make clean && make

# Install (optional)
sudo make install
Code Structure
client/
├── exploit_cli.h # Header file with definitions
├── exploit_cli.c # Main program and utility functions
├── commands.c # Login and init commands
├── commands2.c # Upload and release commands
├── commands3.c # Delete commands
├── Makefile # Build configuration
└── install.sh # Auto installer
Manual Compilation
# Individual compilation
gcc -c exploit_cli.c -o exploit_cli.o
gcc -c commands.c -o commands.o
gcc -c commands2.c -o commands2.o
gcc -c commands3.c -o commands3.o

# Link all object files
gcc exploit_cli.o commands.o commands2.o commands3.o -lcurl -ljson-c -o exp

# Clean
make clean
Testing
# Test basic functionality
./exp --help
./exp login
./exp init test-repo
./exp upload test-file.txt
License
Copyright © 2025 Exploit.or.id
Description
ExploitHub Cloner is a command-line C application that automates the process of downloading and extracting zipped code repositories from a given URL (specifically structured like GitHub or similar archive endpoints). It’s useful for developers and pentesters who want to quickly clone and inspect zipped project archives without relying on Git tools.
Repository Info
Releases 0
No releases yet.